To temporarily fix a roof leak, first locate and mark the source by inspecting your attic for water damage and stains. Clear and thoroughly dry the affected area using towels or a wet vacuum. Apply appropriate waterproof sealant or patching material, matching your roof’s surface. Cover the repair with a heavy-duty tarp extending 4 feet beyond the damage, securing it firmly with 2×4 boards. Monitor the patch daily while you explore permanent repair solutions from licensed professionals.
Locate and Mark the Source of the Leak
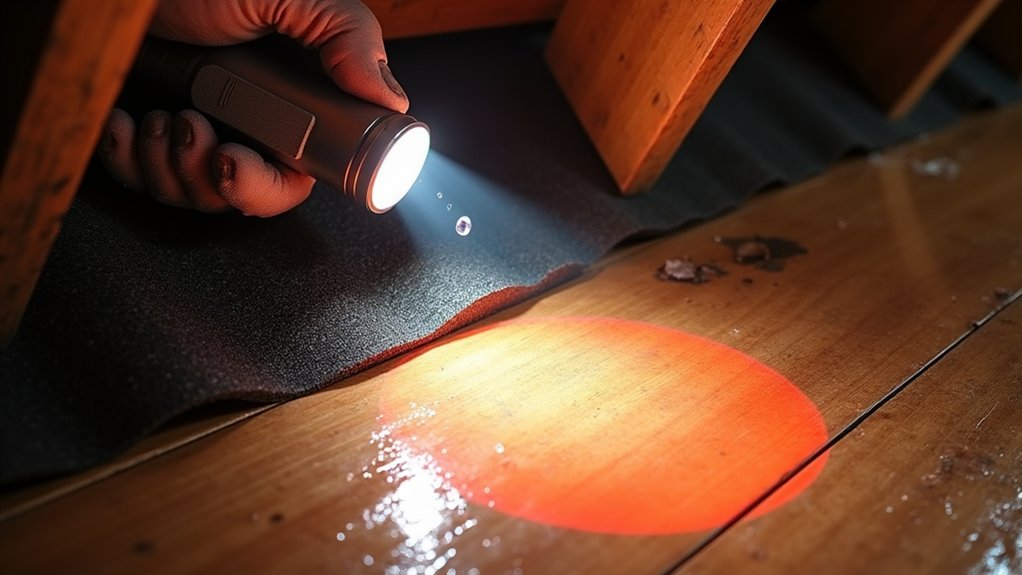
Before attempting any temporary repairs, you’ll need to pinpoint the exact location where water is entering your home. Start by examining your attic during daylight hours, looking for water stains, dark spots, or mold on the underside of your roof deck. Once you’ve found signs of water damage, measure the distance from this point to two fixed reference points, like a chimney or gable end.
Next, inspect the roof surface thoroughly from the outside, using these measurements to identify leak entry points. Look for damaged shingles, exposed nails, or gaps around roof penetrations like vents and chimneys. Mark the location with bright-colored chalk or tape for easy reference. If you can’t safely access your roof, contact a professional roofer your safety should always come first.
Clear and Dry the Affected Area
Once you’ve marked the leak’s location, you’ll need to prepare the area for temporary repair. Remove excess moisture using old towels or a wet vacuum, and allow the surface to air dry completely. Inspect for underlying damage like rotted wood or compromised insulation while the area dries.
| Task | Tool Needed | Safety Note |
|---|---|---|
| Moisture Removal | Towels/Wet Vacuum | Wear gloves |
| Surface Drying | Fan/Dehumidifier | Ensure proper ventilation |
| Debris Clearing | Broom/Brush | Wear goggles |
| Damage Inspection | Flashlight | Use stable footing |
| Area Preparation | Cleaning supplies | Avoid chemicals |
Don’t skip this essential preparation step a dry, clean surface guarantees your temporary patch will adhere properly. If you notice severe structural damage during inspection, stop immediately and contact a professional roofer.
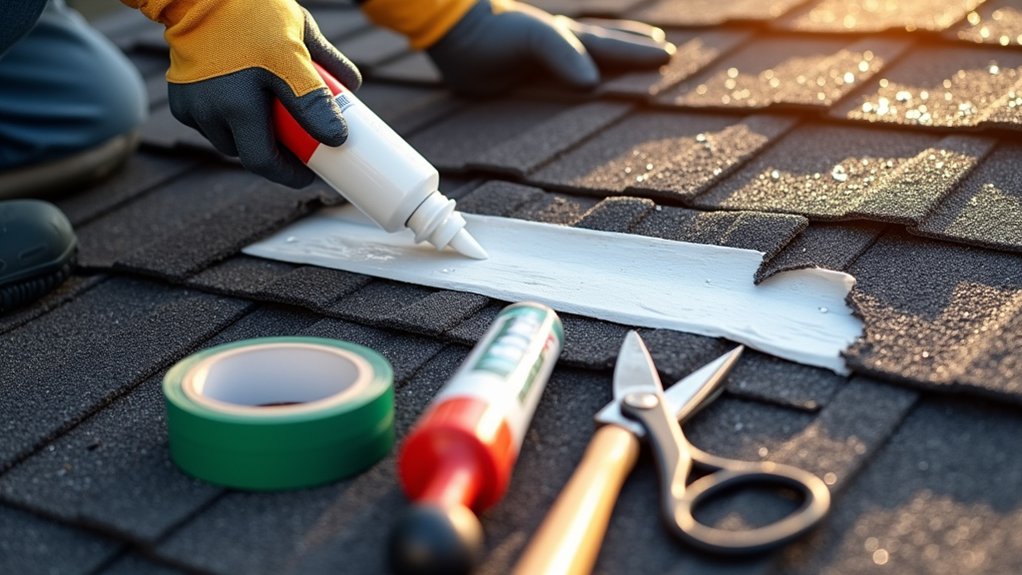
Apply Temporary Sealant or Patching Material
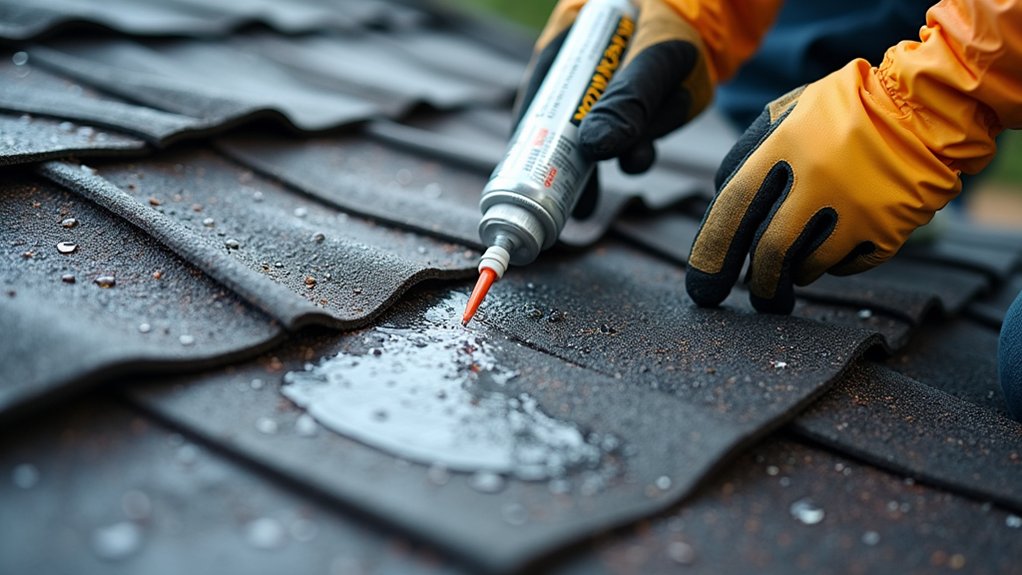
Selecting the right temporary sealant or patching material for your roof leak is essential for an effective emergency repair. Choose waterproofing techniques that match your roof’s material and the severity of the leak. You’ll need high-quality roofing tape, rubber sealant, or patching compound designed specifically for emergency repairs.
Using the right emergency roofing sealant matched to your roof type ensures an effective temporary repair until professional help arrives.
Apply your chosen material following these adhesive application methods:
- Press roofing tape firmly over the leak, starting from the center and working outward to prevent air bubbles
- Spread rubber sealant with a putty knife in thin, even layers, extending 2 inches beyond the leak’s edges
- Apply patching compound in a crisscross pattern for maximum coverage and adhesion, ensuring complete contact with the roof surface
Cover the Patch With Protective Tarp
A properly installed protective tarp over your temporary patch creates an additional barrier against water infiltration and extends the life of your emergency repair. Place a heavy-duty, waterproof tarp over the patched area, ensuring it extends at least 4 feet beyond the damaged section on all sides. Secure the tarp against elements by fastening its edges with 2×4 boards nailed into the roof’s structure, or use specialized tarp clips designed for roofing applications.
Position the tarp so water runs down and off the roof rather than pooling. Don’t rely on bricks or other weighted objects, as strong winds can dislodge them. Regularly inspect tarp for damage, particularly after severe weather events, and check that all securing points remain tight. Replace the tarp immediately if you notice tears or deterioration that could compromise its protective function.
Monitor the Repair and Plan for Professional Help
While your temporary repair and protective tarp provide immediate protection, these solutions won’t last indefinitely. You’ll need to schedule professional inspection promptly to assess the full extent of the damage and coordinate roof repair timeline. Until then, monitor your repair diligently to guarantee it remains effective.
Watch for these critical signs that your temporary fix needs attention:
- Water stains spreading or appearing in new locations on your ceiling
- Tarp shifting position or showing signs of wear from weather exposure
- Musty odors or visible mold growth near the repaired area
Don’t delay in contacting a licensed roofing contractor, as temporary repairs can mask developing problems. Most professional roofers offer emergency services and can provide detailed estimates for permanent solutions that match your budget and timeline.
Frequently Asked Questions
How Long Can a Temporary Roof Repair Typically Last?
A temporary roof repair can last anywhere from 3-6 months, but you’ll need to monitor it closely as seasonal weather patterns vastly impact its durability. The lifespan of sealants you’ve applied will vary based on exposure to UV rays, rain, and temperature fluctuations. You shouldn’t rely on temporary fixes for more than six months, as they’re not designed for long-term protection and could lead to more extensive damage if left unaddressed.
Can I Fix My Roof Leak During Rainy Weather?
While it’s possible to apply emergency repairs during rain, it’s not recommended for your safety and repair effectiveness. You can’t perform a proper roof inspection in wet conditions, and temporary waterproofing measures won’t adhere well to wet surfaces. If you must act during rain, wait for a brief break in precipitation to apply a temporary patch. For your safety and best results, it’s better to wait until conditions are dry.
What Tools Do I Need for a Temporary Roof Repair?
You’ll need several essential tools for a temporary roof repair. Gather flexible roofing tape, roof patch material, a wire brush, scissors or utility knife, safety gloves, and a ladder. Don’t forget waterproof tarps, roofing nails, and a hammer. It’s pivotal to have safety equipment like non-slip boots and a safety harness. A caulking gun and roofing sealant can also be helpful. Keep a bucket handy to catch any water during repairs.
Will My Home Insurance Cover Temporary Roof Repairs?
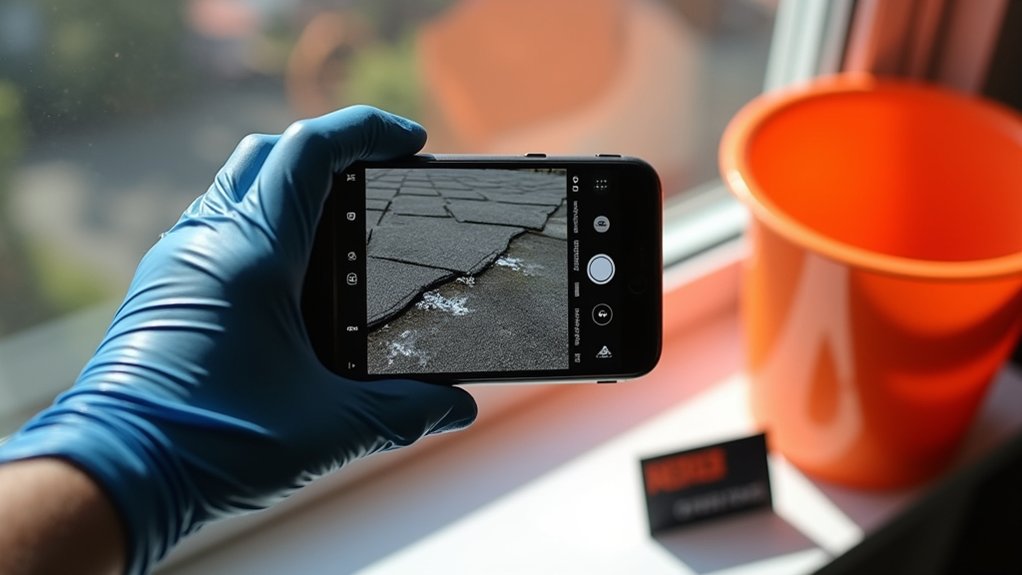
Most home insurance policies will cover temporary roof repairs as part of your insurance claims process, but you’ll need to document everything carefully. Contact your insurer before making repairs to understand temporary repair limitations and coverage specifics. Keep all receipts and take photos of the damage. Remember that your policy might have restrictions on how much you can spend on temporary fixes before permanent repairs are completed.
At What Temperature Can Roof Sealant Be Effectively Applied?
For proper sealant application temperatures, you’ll want to work when it’s between 50°F and 85°F (10°C to 29°C). Anything colder, and your sealant won’t adhere correctly; anything hotter, and it might cure too quickly. For ideal sealant curing conditions, guarantee the surface is completely dry and humidity levels are below 70%. You’ll also need to check your specific product’s instructions, as some advanced formulas can work in more extreme temperatures.